
Log Your First Print
This walkthrough takes a brand-new, empty account and ends with one print recorded in it. It is one path, start to finish — every screen has more options than the ones used here, and none of them matter yet. Follow it in order and you will be done in about five minutes.
You need a 3D Print Log account and one print you have already run on your printer. Have the sliced file's estimates to hand if you have them; if you do not, you can type in what you remember and correct it later.
Step 1: Add your printer
A print belongs to a printer, so the printer comes first.
Open Printers from the navigation and click Add New Printer. Give it a Name — whatever you call it out loud is the right answer, because this is the name you will pick from every time you log a print. Fill in the Brand and Model if you know them.
Everything else on this form is optional. Save.
Step 2: Add the material you printed with
Open Materials and click Add New Material.
Three fields carry the weight here:
- Name — how you will recognize this roll in a list. If you own several
rolls that look alike, number them:
Hatchbox Black 1. - Material Type — PLA, PETG, and so on. Picking a known type fills in the
density for you, which is what turns grams into a cost later.
- Initial Nominal Weight (g) — how much filament the roll held when it was
new. A 1 kg roll is
1000.
Save. That third field is the one that makes the remaining-material tracking work: from here on, every print you log subtracts from it.
If the roll you are using is already partly spent, log the print first and correct the amount afterwards — Material fields covers how.
Step 3: Log the print
Open Prints and click Add New Print.
Fill in the top of the form:
- Title — what you printed.
- Printer — the one from Step 1.
- Start Date — when you printed it. It defaults to now.
- Actual Print Time — how long it took. Your slicer's estimate is close
enough.
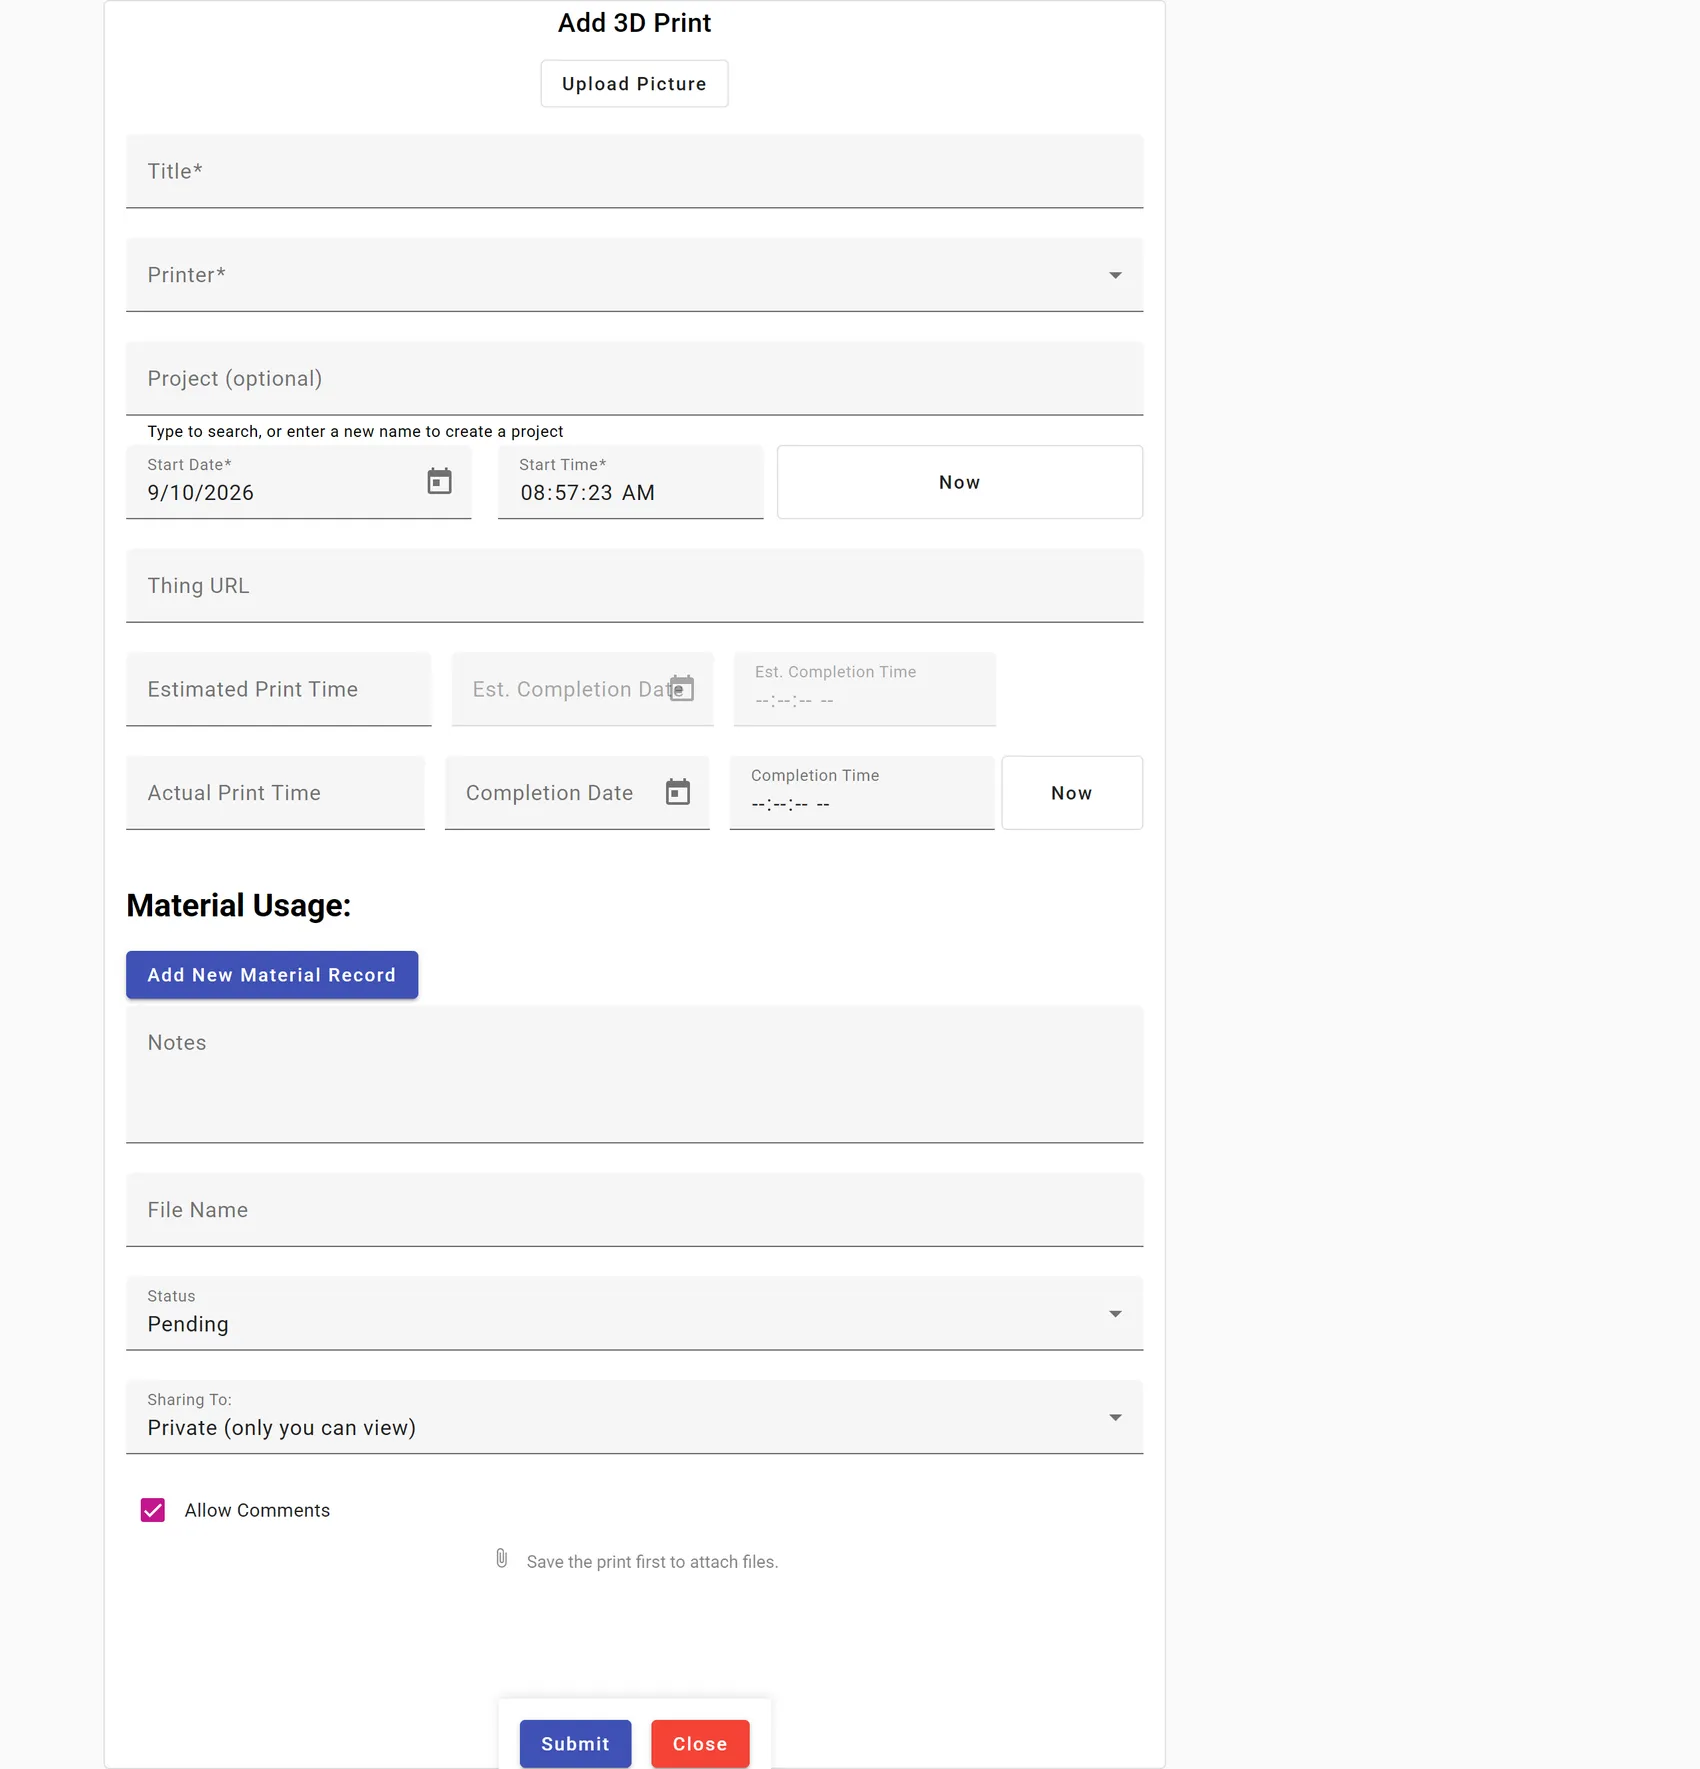
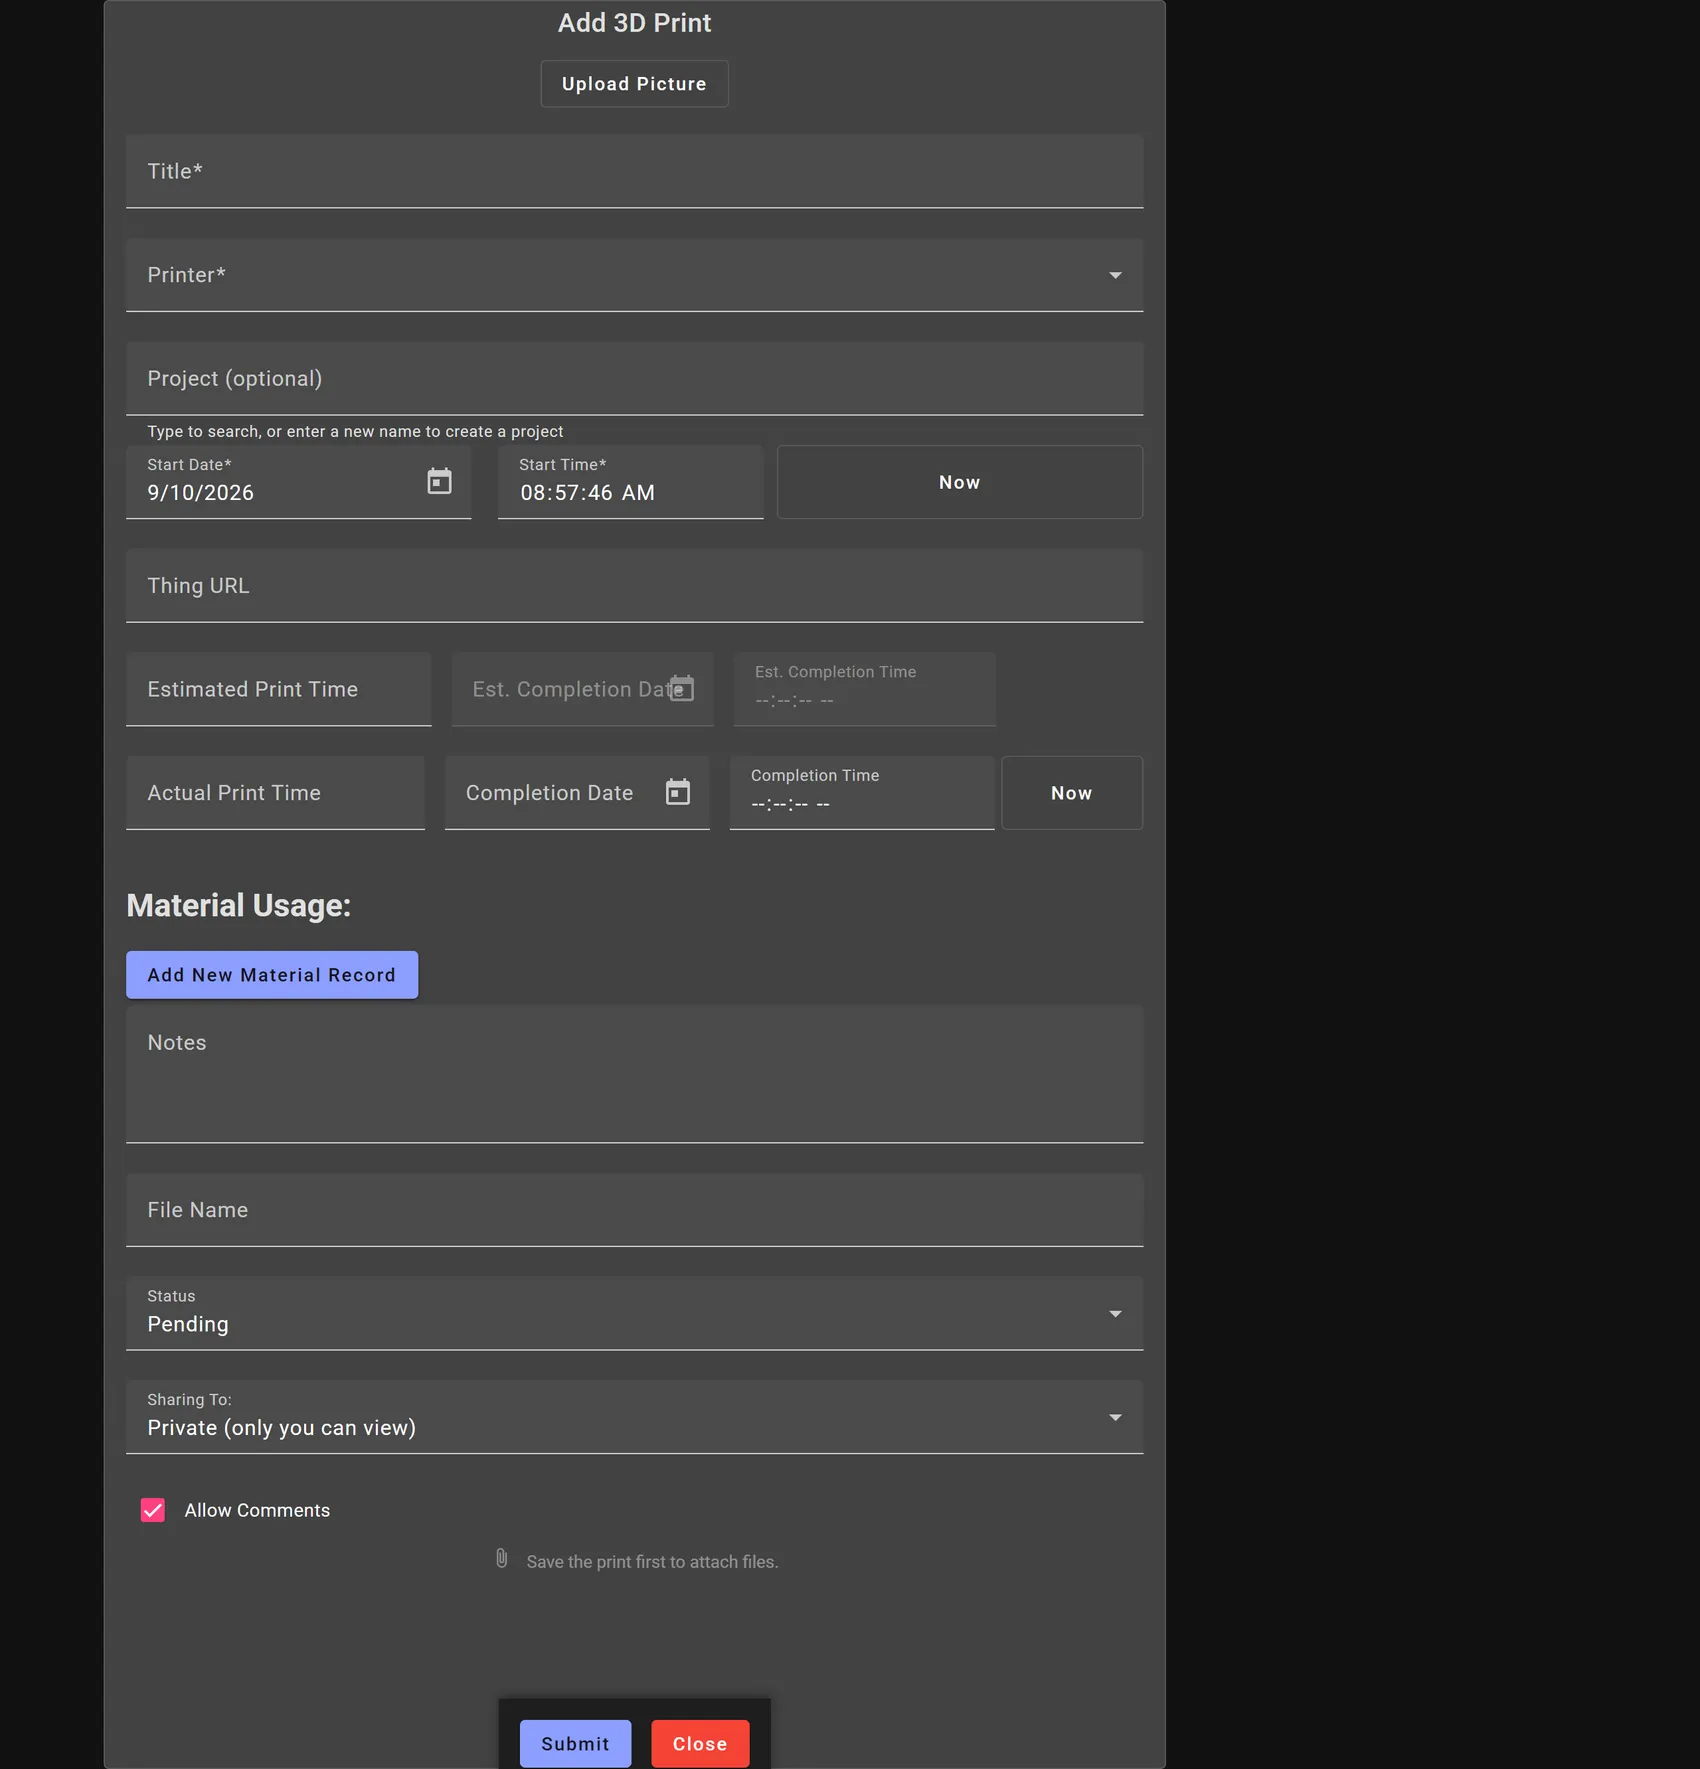
Material is not a single field, because one print can use several. Scroll down to the Material Usage section and click Add New Material Record. That adds a row; in it, click Select Material and pick the roll from Step 2. Then enter Actual Material Used (g) — again from your slicer. That number is what gets subtracted from the roll.
The section is named after whatever the printer you chose uses, so if you added a resin printer in Step 1 it reads Resin Usage and Select Resin. The steps are the same.
Save.
Step 4: Add a photo
Open the print you just saved and add a photo of the finished part.
This is the step people skip and later wish they had not. A print list without photos is a spreadsheet; with them it is a record of what you have actually made, and it is the fastest way to find a print again months later.
Step 5: See what you built
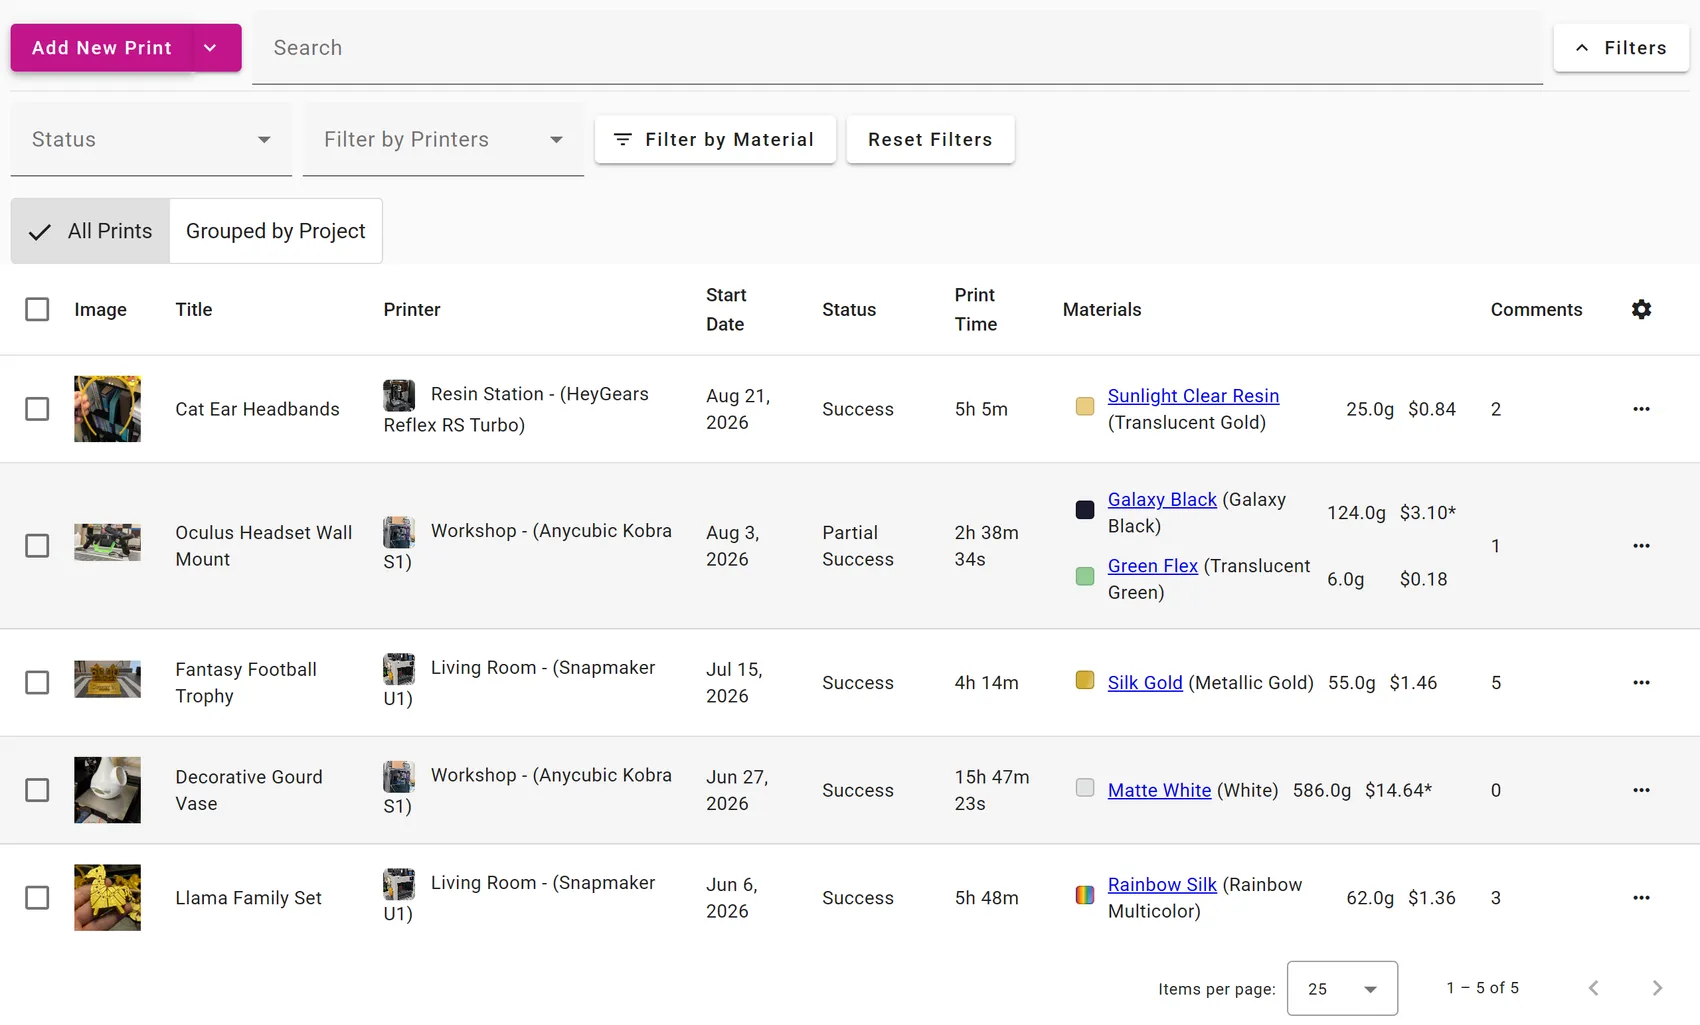
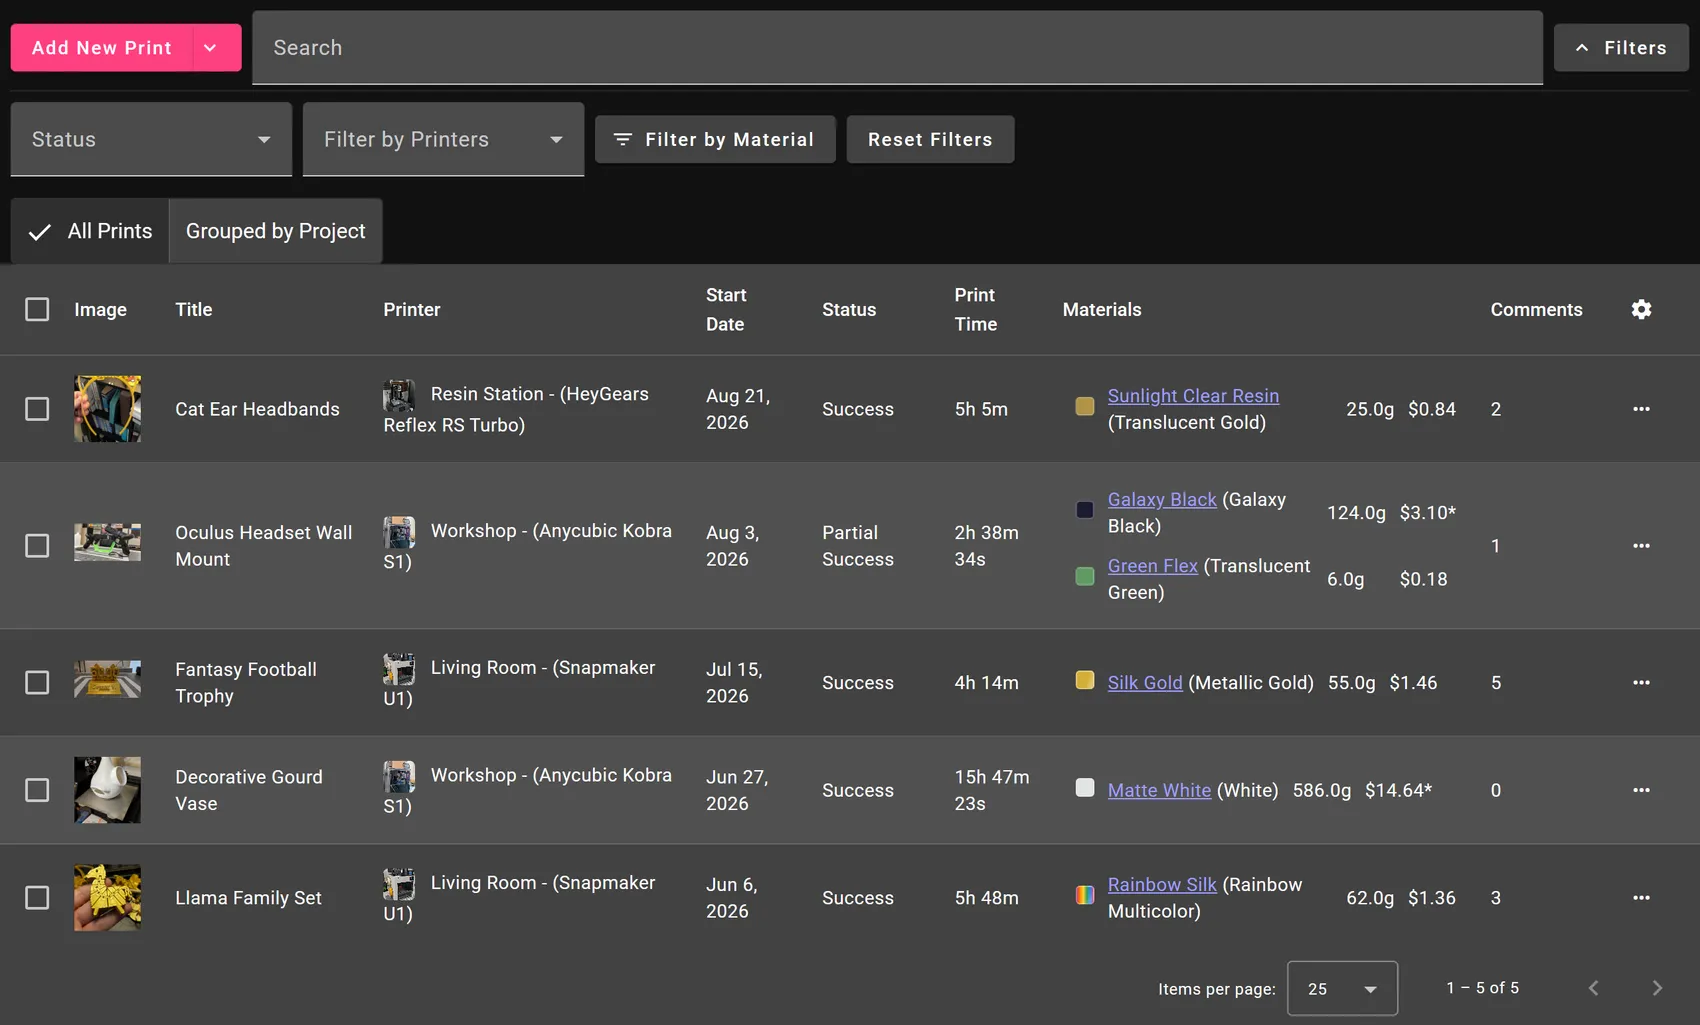
Go back to Prints. Your print is in the list, with its photo, its printer and its material.
Now open Materials. The roll you added in Step 2 shows less filament remaining than it did — the grams you entered in Step 3 came off it automatically. Nothing asked you to do that bookkeeping, and nothing will.
That is the whole loop. Log prints as you make them and the inventory, the costs and the printer history keep themselves.
Where to go next
- Prints — everything the print form can record, including
settings, ratings, and multi-material prints.
- Material fields — every field on a
material and what it changes.
- Printers — maintenance logs, loaded materials, and printer
statistics.
- Send prints from your slicer — stop typing print
details in by hand.