Prints
Navigate to the Prints section to manage your list of 3D prints.
Prints List
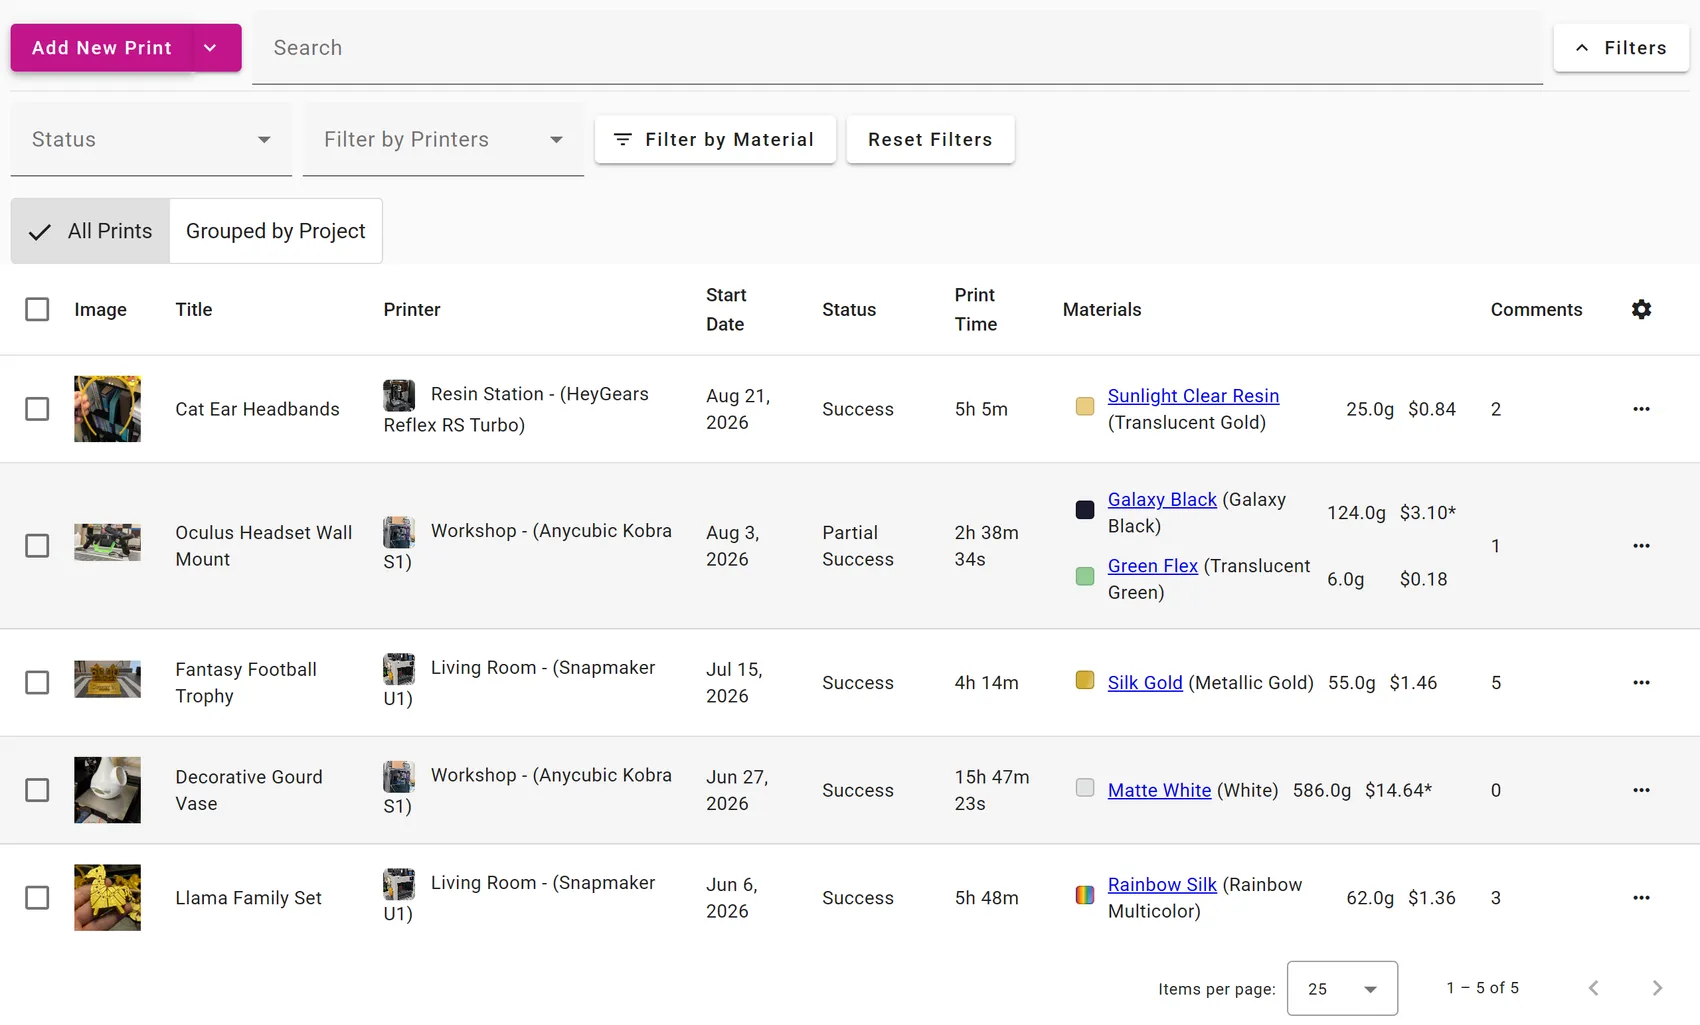
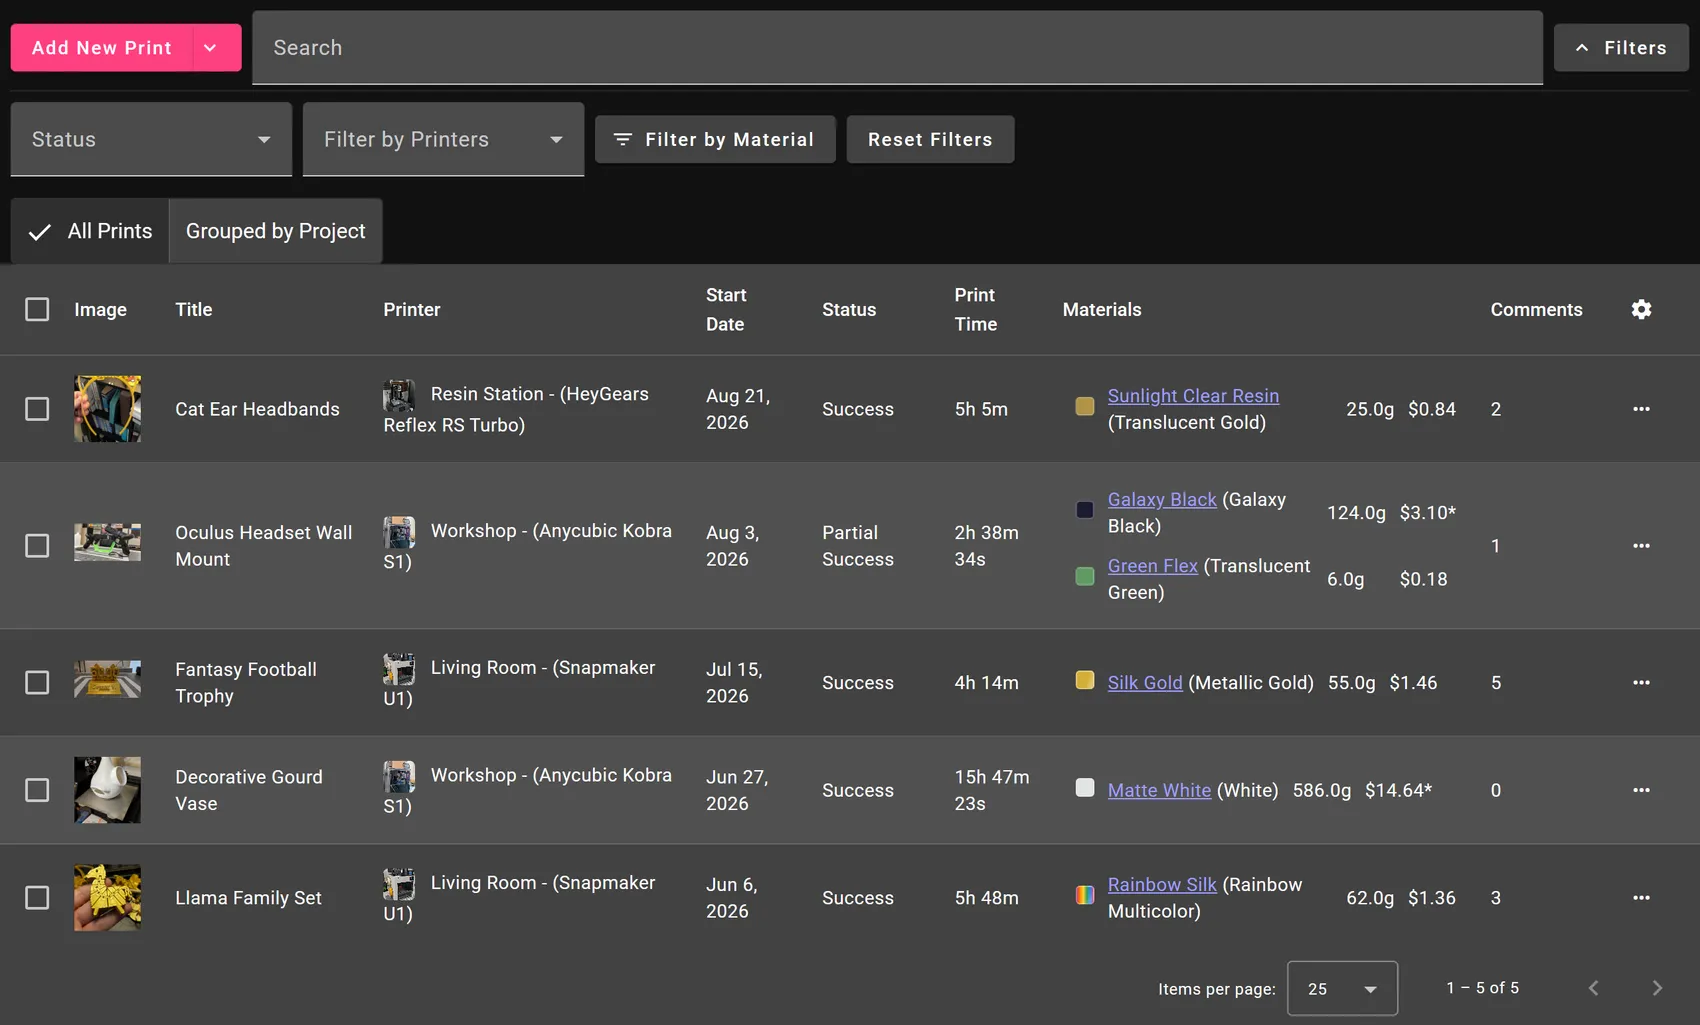
By default, the list shows your last 10 prints, ordered by their Start Dates. Use the Search input at the top to filter the list by the print's Title and Notes fields. Use the Status dropdown to filter by a specific print status.


The Print List Table
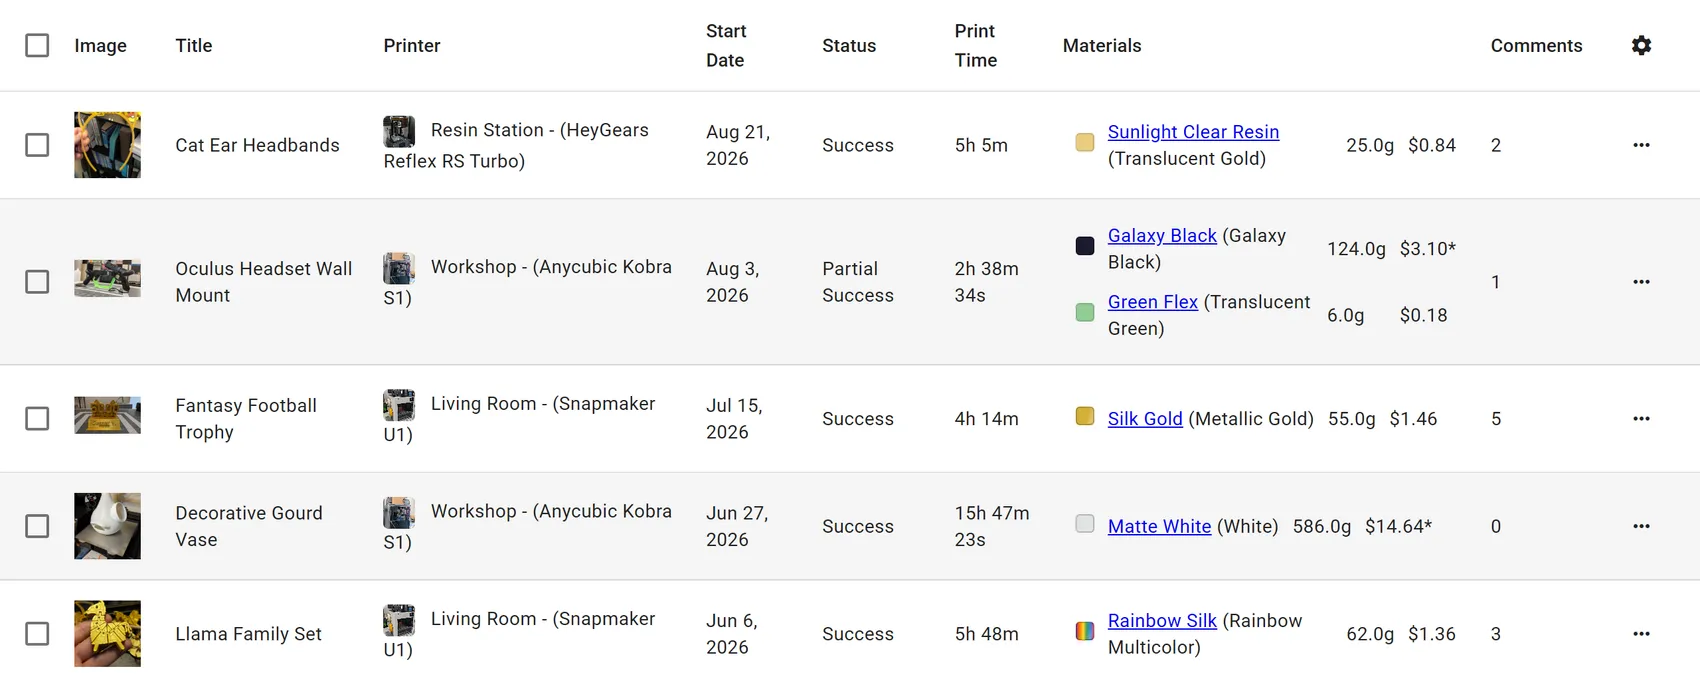
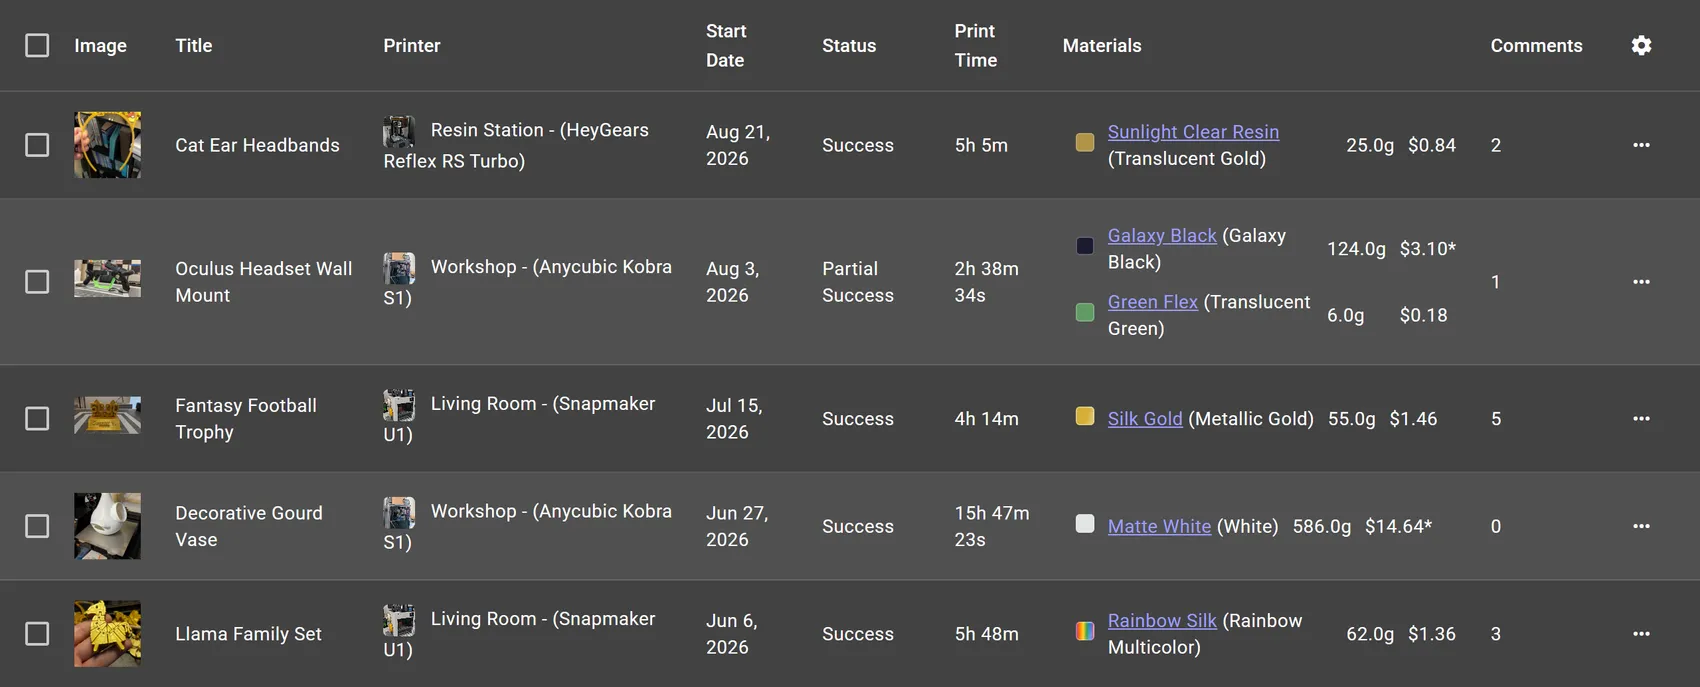
The print list table contains summary information about your prints. The default columns are:
- Image - The default image for the print. The default image is the one shown in list views.
- Title - The title of the Print.
- Printer - The Name (Make - Model) of the 3D printer used.
- Start Date - The start date of the print.
- Status - The current status of the print.
- Print Time - The print time recorded for the print. An * indicates that the Estimated Print Time is shown, when no Actual Print Time is recorded.
- Comments - The number of comments on that print.
- More - Displays a menu with actions for that print.
- Edit - Start editing the print.
- View - View the print.
- Share - Opens a share dialog with the link to the print. Here you can also change the privacy of the print.
- Duplicate - Create a copy of the print. Useful for batch print jobs.
- Delete - Will ask if you want to delete the print. If confirmed, the print will be permanently deleted.
- Change Print Status - Lets you quickly change the print status of the print.
Additional columns (hidden by default, use the Gear Icon -> Change Table Layout menu to customize columns).
- Image (Medium) - The saved image for the print as a medium thumbnail.
- Image (Large) - The saved image for the print as a large thumbnail.
- Start Time - The time the print was started.
- Start Date/Time - The date and time the print was started as a single column.
- End Date - The date the print will end at (if the print has saved "actual" or "estimated" print time).
- End Time - The time the print will end at (if the print has saved "actual" or "estimated" print time).
- End Date/Time - The date and time the print will end at (if the print has saved "actual" or "estimated" print time), as a single column.
- Material - Gives a detailed view of the material usage of the print, including color, name, and material used.
- Total Material (g) - The sum of all the material weights for the print. It will use the Actual Amount if it is greater than 0, otherwise it will use the estimated weight.
Bulk Actions
When you come back to a plate of prints that all finished the same way, you do not have to update them one at a time. Each row in the Print List table has a checkbox on the left, and the header checkbox selects every print on the current page.
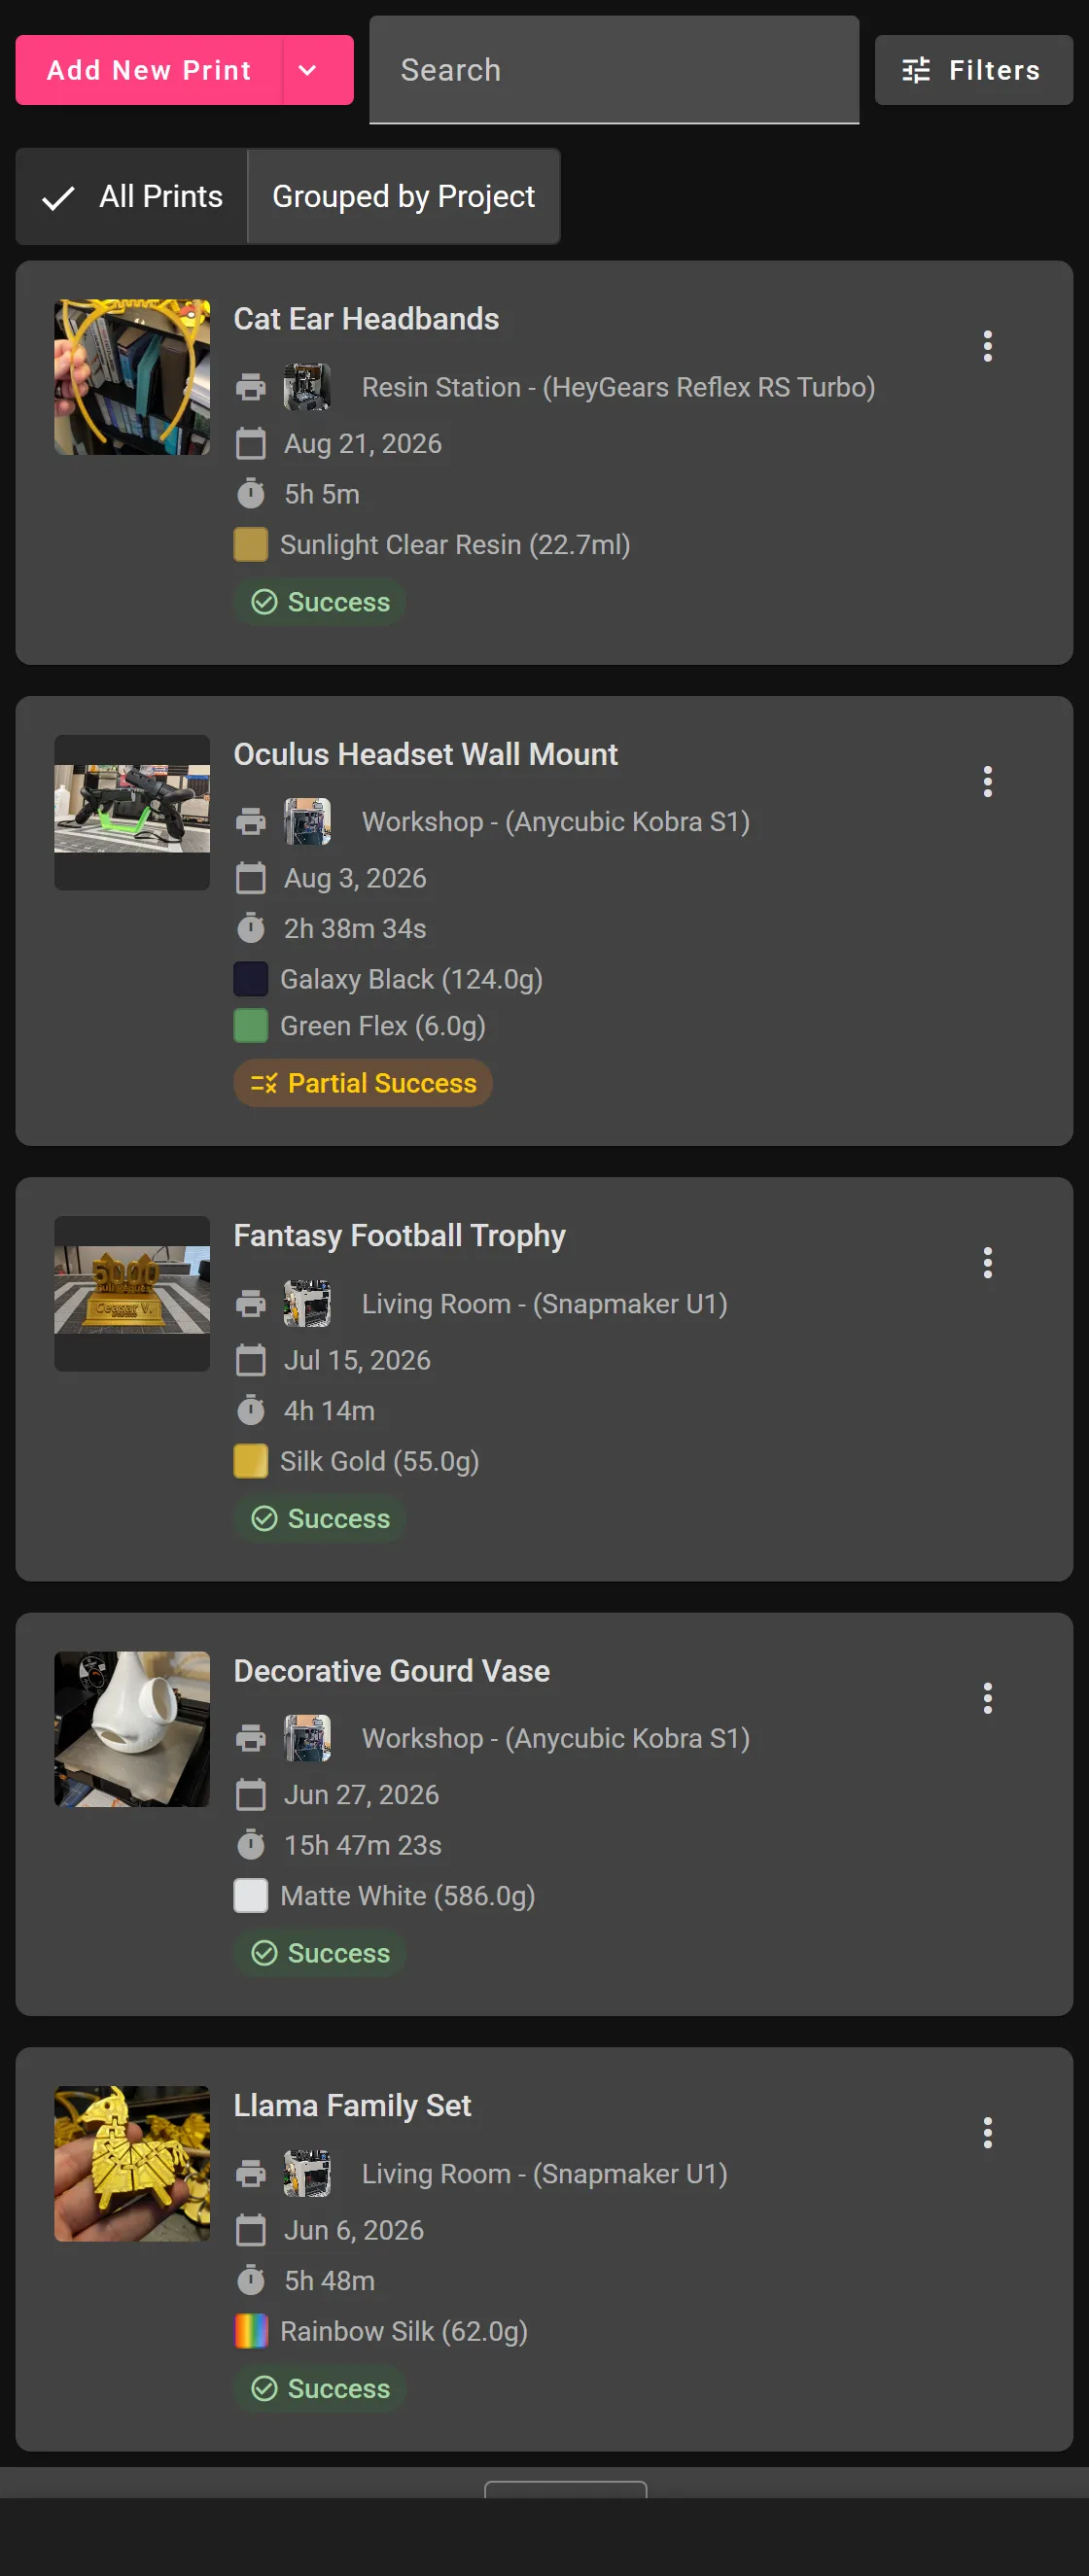
On a phone or tablet the list shows cards instead of a table, so there are no checkboxes. Press and hold any card for half a second to select it. From then on a single tap adds or removes a card, and the card you are holding shows a badge on its thumbnail. Tap the last selected card again to leave selection mode - the cards go back to opening the print when tapped.
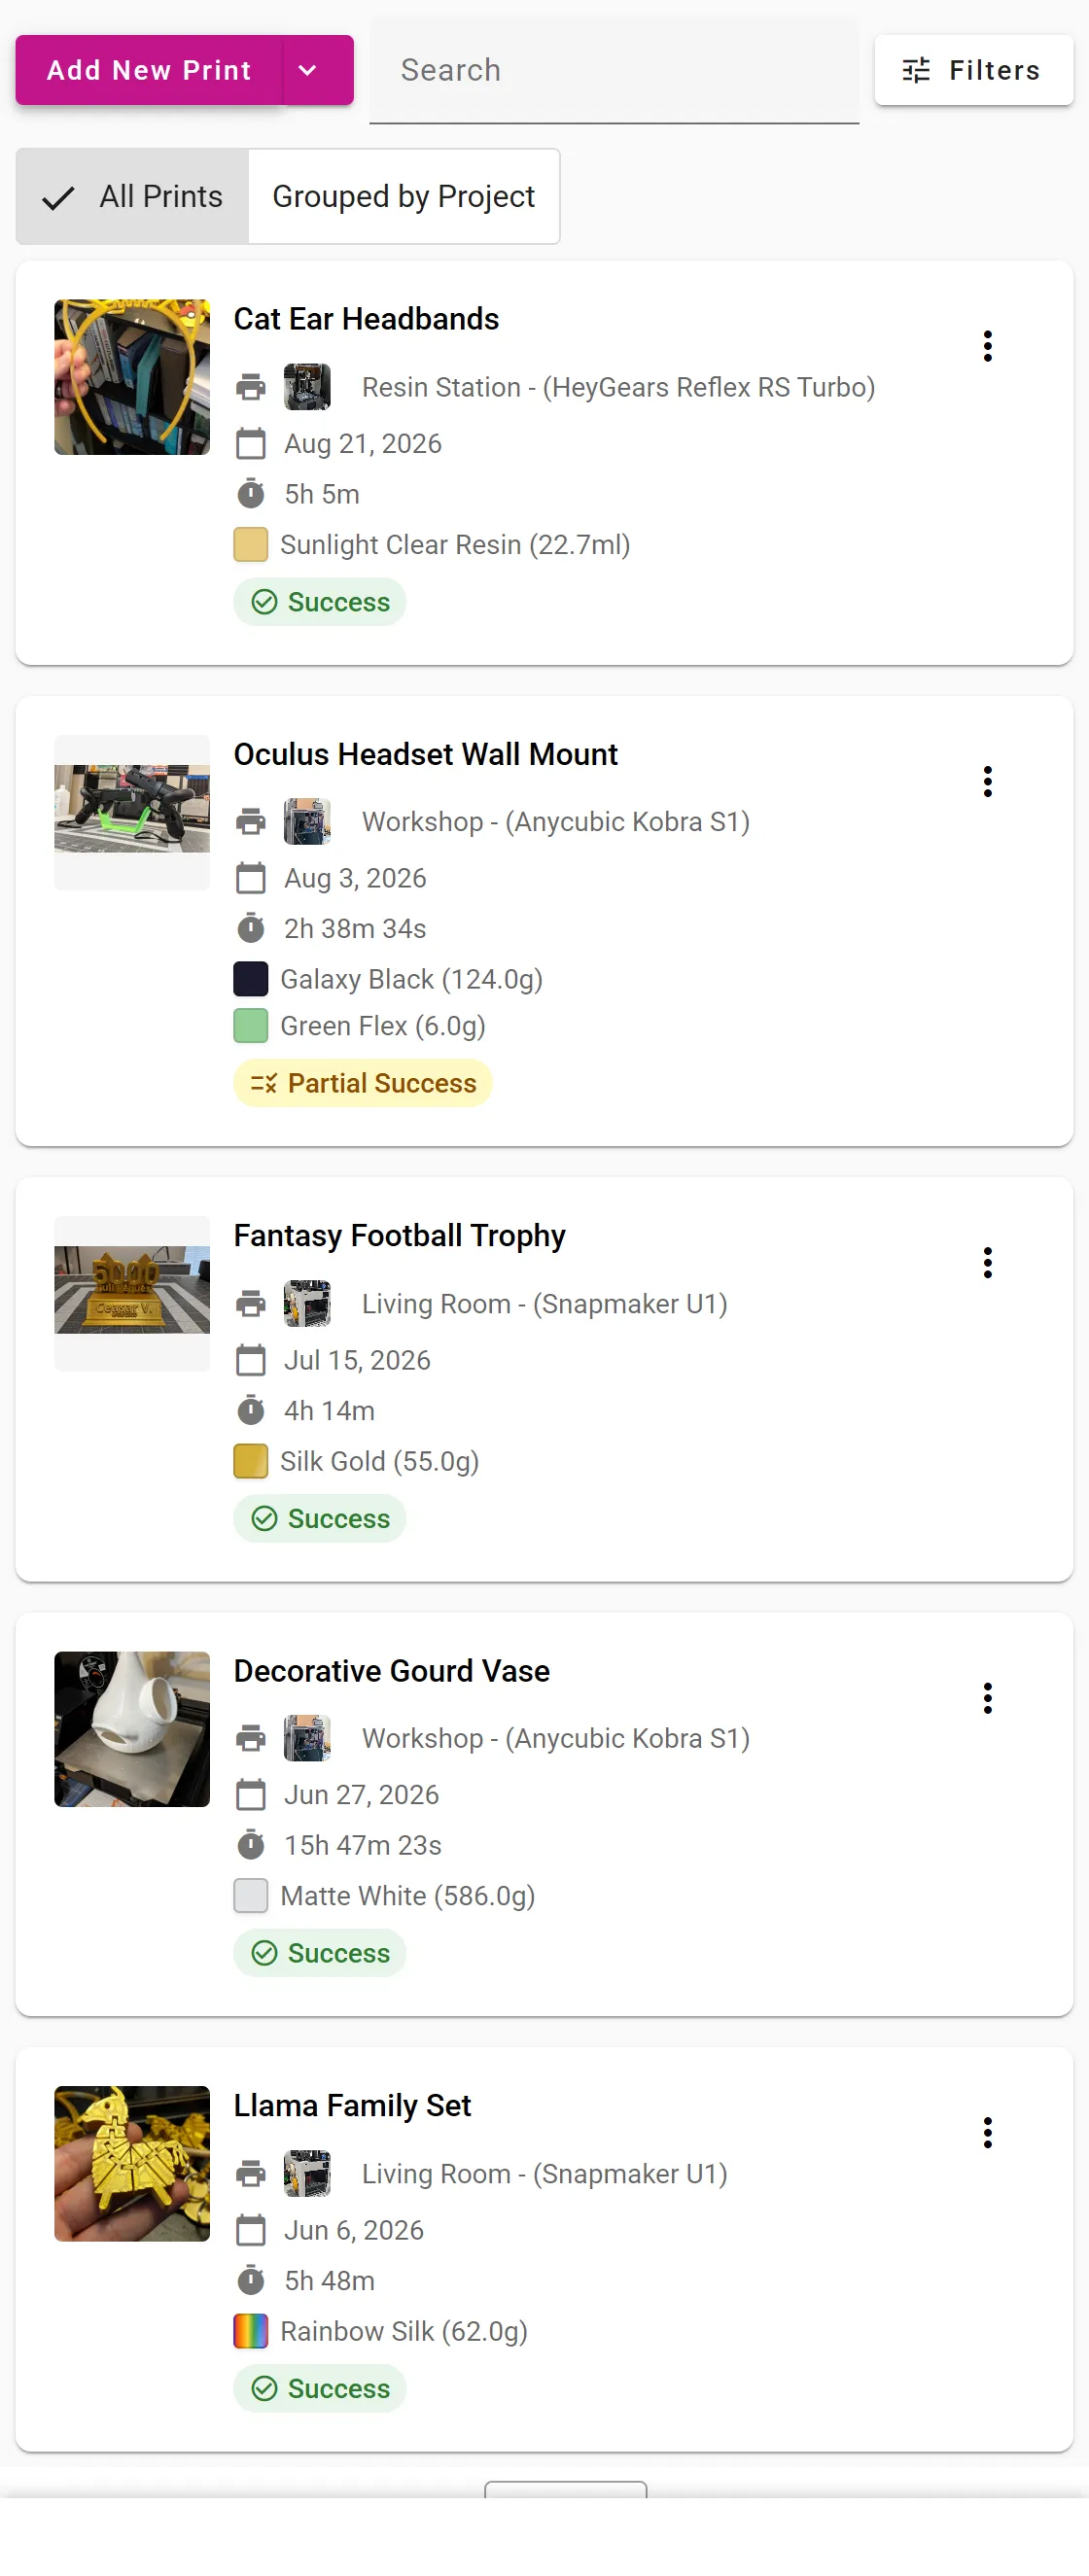
As soon as one print is selected, a chip showing how many prints are selected appears next to the view toggle, along with an Actions button and a Clear button. The Actions button carries the count, so you can always see how many prints you are about to change, and the menu repeats it at the top. Clear deselects everything.
On a phone the same chip and buttons sit in a bar pinned to the bottom of the screen, so they stay within reach while you scroll the list picking prints.
The Actions menu offers:
- Select all on this page - Adds every print currently listed to the selection, keeping anything you already picked on another page. Handy on a phone, where there is no header checkbox to do it.
- Set status - Applies the status you pick to every selected print.
- Add to project - Files every selected print under one project. Pick a project you already have, or type a new name and it will be created for you. Prints already in another project will be moved.
- Visibility - Sets every selected print to Public, Unlisted, or Private.
- Printer - Moves every selected print onto a different printer, for when a batch was logged against the wrong machine.
- Permissions - Allows or disallows comments and file downloads across the selection.
- Delete - Asks you to confirm, then permanently deletes every selected print.
To take prints back out of a project, open Add to project and choose Remove from project. The prints keep everything else about them; they simply stop belonging to a project.
A progress bar shows how far along the batch is. If one print cannot be updated, the rest of the batch still runs. You will see how many succeeded and how many failed, and the prints that failed stay selected so you can try them again.
The header checkbox only covers the page in front of you, but your selection is not thrown away when you move around: change the page, the search text, a filter, or the sort order and the prints you picked stay selected, so you can gather prints from several pages before acting on them. The chip always shows the running total. Use Clear when you want to start over.
Electricity Cost
3D Print Log can track the electricity cost of each print. To enable this feature, set your electricity rate in Settings.
Once configured, the Electricity Cost column in the Print List shows the estimated electricity cost for each print. The Total Cost column combines material and electricity costs; hover over it to see the breakdown.
On the print detail page, electricity cost appears below the material breakdown. When adding or editing a print, a live preview updates as you enter the print time.
Electricity cost uses the actual print time when available, falling back to the estimated print time otherwise.
Add a new 3D Print
From the 3D Print list, click on the button.
Give the print a Title and a Start Date, and select an active Printer. Optionally, enter the URL for where you found the 3D model. Use the "Choose File" button to upload one or more images for the 3D print (up to 5 on the free tier, or 20 with Pro). The Notes field can be used to record any additional details you may want. Both the Title and Notes fields are searched in the Print List, so use keywords in the notes to help make searching easier.
The Estimated and Actual Print Time fields accept human-readable input, such as 6h 12m 25s, or 6 hours 12 minutes 25 seconds.
Prints can have one of 6 statuses: Pending, Printing, Successful, Partial Success, Failed, or Cancelled. The Status selection will default to Pending, but can be changed by clicking the dropdown.
Create a print from a G-code file
Open the menu beside Add New Print and choose Add Print From Gcode. 3D Print Log reads the slicer's comments from the file and opens the new print form pre-filled with the estimated print time, one material row per filament slot the print used, and a note summarizing the print settings.
Files from OrcaSlicer, Bambu Studio, PrusaSlicer, Creality Print, Anycubic Slicer and Cura are recognized directly. A slicer derived from one of those (Snapmaker Orca, Elegoo Slicer, SuperSlicer, and other forks) is parsed by its closest match — you will see a short notice saying which parser was used, and a few settings may be missing from the note.
A file with no slicer comments at all (raw G-code from a printer or a plain Marlin export) is analyzed from its toolpath instead. That gives layer count, model size and a per-extruder filament estimate, but the time estimate is a floor and no slicer settings are available.
Material Usage
The Material Usage section lets you record what material was used for the print. Click Add New Material Record to begin. The Select/Change Material button is used to open a search box for selecting or changing the material. After selecting a material, the left side will display the selected material's color and remaining material. The Estimated Material Used (g) and Actual Material Used (g) record the weight of material needed for the print.
You can record material usage either by Weight, Length, or Volume by changing the Measure dropdown.
If you want to record a weight for a material not being tracked, you can select the "OTHER" option in the search dialog, and record an arbitrary type and amount of material. The "OTHER" option will not be added to any material roll's tracking, but it will be included in your Analytics material usage amounts.
A Material Usage can be removed from the print by clicking the Delete button.

When ready, click to save your new 3D Print.
Edit an existing 3D Print
Click on any row in the print list to view and edit an existing 3D print.
After making changes, click to update that 3D print.
Managing Images
Each print can have up to 5 images on the free tier, or 20 with Pro. When editing a print, the image area supports the following:
- Add images — Click the Choose File button or drag and drop image files onto the upload area to add more images. You can also select multiple files at once. Adding images is disabled once you reach your limit.
- Browse images — When a print has more than one image, a thumbnail strip appears below the main image. Click any thumbnail to view that image, or use the arrow buttons on the sides of the main image to step through them. On touch devices, swipe left or right on the main image to navigate.
- Set the default image — The default image is shown in the print list and on the public print view. It is marked with a in the thumbnail strip. To change the default, hover over any other thumbnail and click the icon that appears.
- Reorder images — Drag and drop thumbnails in the strip to change the display order of your images.
- Delete an image — Hover over a thumbnail and click the icon to remove that image. Deletions take effect when you click .
Delete a Print
You can permanently delete a print by clicking on , and selecting the "Delete" option. A confirmation dialog will appear, and by clicking "Delete" the print (and all related comments and images) will be deleted.
Projects
You can group related prints together using Projects. Assign a print to a project from the add/edit form. Project chips appear on each print in the list, and a Grouped by Project view lets you see all your builds at a glance. Learn more about Projects.
Exporting Print Data
You can export your prints as a .csv (comma separated value) file, by navigating to Settings and clicking Export. The .csv file will contain all your print information, times, material usage, notes, etc.